You edited that video three times. Watched it back on your phone. Looked sharp. You upload it to Instagram and somehow it comes back soft, pixelated, and half as good as what you started with.
Nothing changed. Except Instagram got to it.
This happens constantly. It’s not your camera. It’s not your phone. It’s compression, and most of it is preventable once you know what’s actually going on.
Why Instagram Compresses Your Videos
The scale of Instagram is the starting point. With over 3 billion active users, the amount of visual data uploaded every minute is enormous. If everyone uploaded full-resolution uncompressed files, loading times would be painfully slow and mobile data consumption would be unsustainable.
So Instagram compresses. The algorithms analyze your footage and strip away subtle color variations, fine details, and complex textures. The file gets smaller. The quality takes a hit.
The size of that hit depends on what you give it. Upload a video that’s too large and Instagram compresses it further to speed up loading. Upload something that already matches Instagram’s recommended specs and the compression pass is lighter. Upload the wrong format, wrong color profile, or oversized file and you’ll feel it.
The Most Common Causes
Wrong Format or Specs
Instagram’s recommended video format is MP4 with H.264 codec, 30fps frame rate, and a maximum file size of 4GB. Accepted aspect ratios are 1:1, 4:5, 9:16, and 16:9.
Upload outside those parameters and Instagram crops, resizes, or re-encodes. Sometimes all three. Each step costs quality.
HDR Video
This one catches a lot of people off guard. If your Instagram videos appear dull or blurry, it’s likely because your video is in HDR format. Instagram supports a wide range of formats but HDR videos aren’t publishing correctly due to a platform bug. When Instagram tries to convert HDR to SDR, it fails to do so properly.
Recent iPhones and most Android flagships record HDR by default. You might not even know your footage is HDR. Disable it in camera settings before shooting content you plan to upload, or convert to SDR before export.
Data Saver Mode
Easy to miss. Instagram’s Data Saver option lowers video quality to reduce mobile data usage. When it’s on, your uploaded videos appear blurry.
Check it now: Profile, menu icon, Settings, Account, Cellular Data Use. Turn Data Saver off.
High Quality Uploads Is Off by Default
Instagram quietly disables this. Before posting, go into advanced settings and scroll to Media Quality. Turn on High Quality Media. Instagram won’t always remember this between posts. Check it every time.
Slow or Unstable Connection
When your internet connection is unstable, Instagram automatically reduces video quality to complete the upload. It does this silently. No warning. The video goes up, just worse than it should be.
Upload on WiFi. Always.
Wrong Color Profile
Videos using a color profile Instagram doesn’t support, like log footage, wide gamut, or HDR color spaces, can have blown highlights or flat, dull colors after upload. Export in Rec.709. That’s the standard SDR color space. Most phone cameras and editing apps use it by default, but check if you’ve been shooting in any kind of log or wide gamut profile.
Outdated App
Boring fix. Often works. Video quality issues can occur on older versions of the Instagram app. Update and re-upload. Instagram’s compression handling changes with updates. An old version sometimes re-encodes worse than the current one.
Instagram’s Recommended Video Specs
Meet these before uploading. Files that match go through a lighter compression pass.
| Setting | Recommended Value |
|---|---|
| Format | MP4 |
| Codec | H.264 |
| Resolution | 1080×1920 for Reels/Stories, 1080×1080 for feed |
| Aspect ratio | 9:16 for Reels/Stories, 1:1 or 4:5 for feed |
| Frame rate | 30fps constant |
| Bitrate | 3.5 Mbps minimum |
| Color space | Rec.709 SDR |
| Audio | AAC, 128kbps minimum |
| Max file size | 4GB |
Before You Upload: The Prevention Checklist
Most blurry Instagram video is preventable. Run through this every time.
Shoot at the highest resolution your camera supports. It’s easier to downsize a high-quality video than to upscale a low-quality one. Don’t compromise at the capture stage.
Disable HDR before shooting. iPhone: Settings, Camera, Record Video, turn off HDR Video. Android: check your camera app’s video settings. If you’re uploading straight to Instagram, shoot SDR from the start.
Export correctly. MP4, H.264, 1080p, constant 30fps, Rec.709. Variable frame rate causes re-encoding issues. Lock it.
Turn off Data Saver. Every session. It resets after some app updates.
Turn on High Quality Uploads. Advanced settings, before posting, every time.
Upload on WiFi. Unstable connections trigger silent quality reduction. Don’t risk it.
Clear the app cache occasionally. A large accumulated cache can slow the app and cause upload issues including quality degradation. Android: Settings, Apps, Instagram, Storage, Clear Cache. iPhone: offload and reinstall.
When the Problem Is the Footage Itself
Everything above fixes what Instagram does to your video. None of it fixes quality problems that existed before you hit upload.
Grain from low-light shooting. Compression artifacts from previous encoding. Soft detail from an older phone camera. Export settings don’t solve those. They just preserve the problem more faithfully.
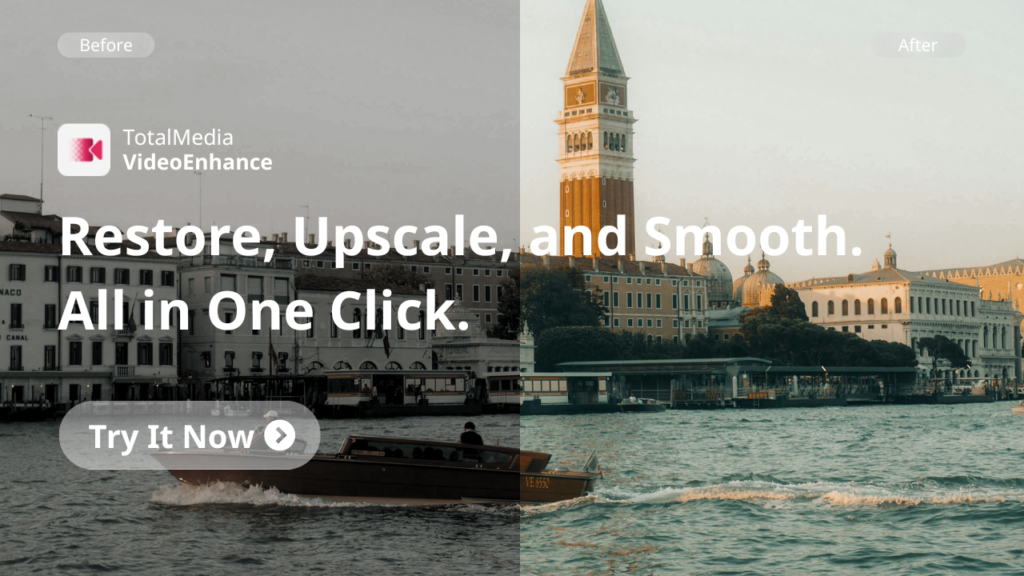
For footage in that state, an enhancement pass before upload makes a real difference. TotalMedia VideoEnhance’s AI Smart Enhance processes noise, compression artifacts, color fade, and detail loss in one pass. Upscaling brings lower-resolution footage to 1080p with AI-reconstructed detail, giving Instagram’s compression a stronger source to work with. No installation required. Runs in any browser.
For format conversion from MOV, MTS, or other formats to platform-ready MP4, TotalMedia VideoConverter handles the conversion with output settings that match Instagram’s recommended specs.
Frequently Asked Questions
Your camera roll has the original. Instagram re-encodes on upload and what you see on the post is the compressed version. Matching Instagram’s recommended specs, specifically MP4, H.264, 1080p, constant 30fps, minimizes the gap between the two.
Yes. Instagram processes all uploaded content regardless of resolution. Your goal is to avoid visible quality loss, not eliminate compression entirely. 4K gets downscaled to 1080p. Uploading at native 1080p with correct specs usually produces cleaner results than uploading 4K and letting Instagram handle the downscale.
Recent iPhones record HDR by default. Instagram’s HDR-to-SDR conversion is currently broken, resulting in washed-out, flat-looking video. Disable HDR in iPhone Camera settings before shooting anything intended for Instagram.
Indirectly. Uploading during peak hours on a congested network increases the chance of an unstable connection, which triggers Instagram’s silent quality reduction. Upload on stable WiFi and the time of day stops mattering.
TikTok’s compression is generally considered lighter than Instagram’s, especially on high-motion content. Uploading at the correct specs narrows the gap. Enabling High Quality Uploads in advanced settings before posting helps too. The difference is real but manageable with the right export settings.