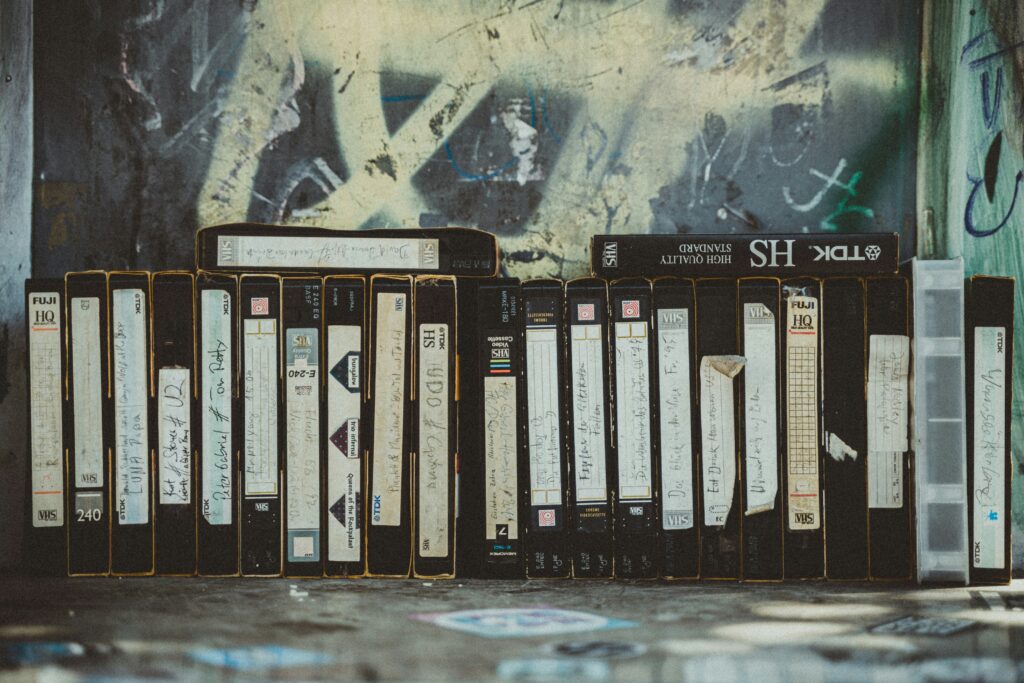
Sony Handycams were everywhere. If your family recorded anything between the late 1980s and the 2000s, there’s a reasonable chance it exists on a Hi8 or Digital8 tape somewhere. The footage is irreplaceable. The quality, by modern standards, is rough.
Grain, noise, washed-out color, soft detail. None of this is unusual. It’s what small-sensor camcorders shooting in mixed light look like after decades of storage. The question isn’t whether the footage is imperfect. It’s whether you can make it better. Most of the time, the answer is yes.
Part 1: Why Handycam Footage Looks Noisy
The noise in old Handycam footage has specific causes. Knowing which ones apply to your footage points directly to what the enhancement process is working against.
Small image sensors. Early Handycams like Hi8, Digital8, early HDR models, used tiny image sensors by modern standards. In low light, small sensors struggle to capture a clean signal. The camera amplifies what it does capture, and that amplification brings noise with it. Indoor birthday parties, dimly lit living rooms, evening garden footage — these are where the grain is heaviest.
Automatic gain boost. When the camera detects a dark scene, it automatically increases gain (the camcorder equivalent of ISO) to brighten the image. The footage looks exposed, but at the cost of significant noise across the frame. This is why the same camcorder can produce clean outdoor footage and visibly grainy indoor shots from the same recording session.
Tape noise on analog formats. Hi8 is an analog format. The video signal is recorded magnetically on tape, and tape introduces its own noise. Noise is a random speckled pattern superimposed on the image during both recording and playback. It compounds with sensor noise to produce the characteristic look of aged Hi8 footage.
Compression artifacts on early digital formats. Digital8 and early MiniDV models encoded video using MPEG-2 or DV compression. Both discard image data to reduce file size, which introduces blocky compression artifacts, particularly visible in areas of fine detail or fast motion.
Part 2: Digitization — Getting the Best Possible Source
For tape-based Handycam footage, the digitization step determines everything. AI enhancement can improve what it’s given. It can’t reconstruct detail that was lost during a poor capture.
Hi8 Tapes
Hi8 is analog. It cannot connect to a computer directly via FireWire. You have two options.
Option 1 — Use a Digital8 camcorder as a bridge. Some Digital8 camcorders can digitize Hi8 video on the fly. Not all models support this, so check your specific model’s manual before relying on it. Higher-end Digital8 equipment minimizes analog generation loss by offering the ability to playback and digitize legacy analog Hi8 recordings, passing the signal out via FireWire to your computer. The Sony DCR-TRV460 is well-regarded for Hi8 tape preservation with its S-Video throughput and comprehensive connectivity options.
Option 2 — Use a USB capture device. Connect the camcorder’s composite AV outputs (yellow, red, white) to a USB capture device. Quality varies significantly by device. The Elgato Video Capture and Diamond VC500 are reliable options at the consumer level. Avoid unbranded capture cards under $20.
S-Video output, where your camcorder supports it, produces a cleaner signal than composite. Use it if available.
Digital8 and MiniDV Tapes
To transfer Digital8 or MiniDV video to a computer, you need a FireWire connection and appropriate video editing software. Sony’s name for FireWire is iLink, same port, different label. A FireWire PCIe expansion card is the recommended route if your PC doesn’t have a native FireWire port — FireWire-to-USB adapters generally don’t work reliably for video capture. Mac users have better native support for FireWire via Thunderbolt adapters.
Capture Settings
Regardless of connection method, these settings apply:
- Capture at native resolution — 720×480 for NTSC, 720×576 for PAL
- Use a lossless or near-lossless format — Motion JPEG AVI or HuffYUV. Large file sizes are correct and expected
- Turn off all enhancement in capture software — no sharpening, noise reduction, or color correction during capture. Every filter applied here permanently alters the source signal
- Use OBS Studio or VirtualDub for capture software — both handle Handycam input cleanly
Back up the raw captured file before doing anything else. Retransferring from a deteriorating tape later is not a reliable fallback.
Part 3: Pre-Enhancement Preparation
Deinterlacing
Hi8 and Digital8 footage is interlaced — each frame consists of two fields captured at slightly different moments. Progressive displays, which is every modern screen, show both fields simultaneously, producing a combing effect on moving subjects: a horizontal serration along edges in motion.
Deinterlace before enhancement. Running AI enhancement on interlaced footage produces inconsistent frame-by-frame results. HandBrake handles this cleanly and is free — import your captured file, apply the Decomb deinterlace filter under Video settings, and export at the same resolution in a high-quality format. This becomes your source file for enhancement.
Scene Review
Watch through the footage at normal speed before running enhancement. Note sections with heavy grain, dropout artifacts, or tracking issues. Enhancement improves all of these — but knowing where the difficult sections are helps you assess the final output accurately and set realistic expectations.
Part 4: AI Enhancement

With a clean, deinterlaced source file ready, this is where meaningful improvement happens.
TotalMedia VideoEnhance’s AI Smart Enhance addresses the core problems of Handycam footage in a single pass: noise and grain removal, compression artifact reduction, color restoration, low contrast correction, and detail reconstruction simultaneously. For Hi8 footage with tape noise and sensor grain layered together, the single-pass approach is practically useful. Separate noise reduction tools applied in sequence can interact unpredictably and require more manual calibration.
The split-screen preview shows the result on your actual footage at full output resolution before committing to the render. For a one-hour tape capture, previewing on one bright outdoor clip and one dark indoor clip — the two extremes — takes a few minutes and confirms the enhancement is producing what you expect.
Resolution upscaling. Native Handycam resolution — 480p or 576p — upscales to 1080p at 200%, which looks significantly better on modern screens than the SD source. The AI reconstructs detail rather than simply enlarging existing pixels. 4K upscaling is available but produces diminishing returns on Handycam source material — the original signal doesn’t contain 4K-equivalent detail to reconstruct. 1080p is the practical target for most Handycam restoration work.
Frame Interpolation. Most Handycam footage runs at 29.97fps (NTSC) or 25fps (PAL). Frame Interpolation synthesizes new intermediate frames, smoothing motion on modern high-refresh displays. For footage with existing motion cadence issues from tape degradation, this produces a visible improvement in watchability.
The web app runs in any browser — no installation required. The free tier includes 4K upscaling with no watermark on exports.
Bear in mind: the goal of restoration is the best version of what was captured then — not footage that looks like it was shot today. AI enhancement is working with the actual signal from a small-sensor camcorder from decades ago. The improvement is real and often significant. The ceiling is the quality of the original tape.
Part 5: Export
After enhancement, export settings preserve or partially undo what was just achieved.
| Setting | Recommended Value |
| Format | MP4 |
| Video codec | H.264 |
| Bitrate | 15–25 Mbps for 1080p |
| Frame rate | Match original (29.97fps NTSC / 25fps PAL) |
| Audio | AAC, 192kbps |
A low-bitrate export reintroduces the compression artifacts that were just removed. Keep the raw captured files alongside the finished enhanced versions — storage is inexpensive, and retransferring from a deteriorating tape years from now is not a reliable option.
Complete Workflow at a Glance
| Step | Tool | Purpose |
| 1. Capture | Camcorder + FireWire or USB capture device + OBS | Digitize at native resolution, lossless format |
| 2. Deinterlace | HandBrake | Convert interlaced fields to progressive |
| 3. Enhance | TotalMedia VideoEnhance | AI noise reduction, color restoration, upscaling |
| 4. Export | TotalMedia VideoEnhance | H.264 MP4 at high bitrate |
| 5. Archive | External drive + cloud | Raw capture, deinterlaced source, and final output |
Frequently Asked Questions
Yes. A USB capture device connected to any Hi8 camcorder in working condition handles the transfer. Alternatively, a compatible Digital8 camcorder — one that supports Hi8 playback — can digitize Hi8 tapes via FireWire, often with better signal quality than a basic USB capture device.
Indoor shooting forces the camera to boost gain to compensate for lower light levels. That gain increase amplifies sensor noise. Outdoor footage shot in good light uses lower gain settings, producing a cleaner signal. The difference can be dramatic on the same tape.
Before. AI enhancement applied to interlaced footage produces frame-by-frame inconsistencies — the AI is analyzing frames that contain two partially captured fields simultaneously. Deinterlace in HandBrake first, then enhance.