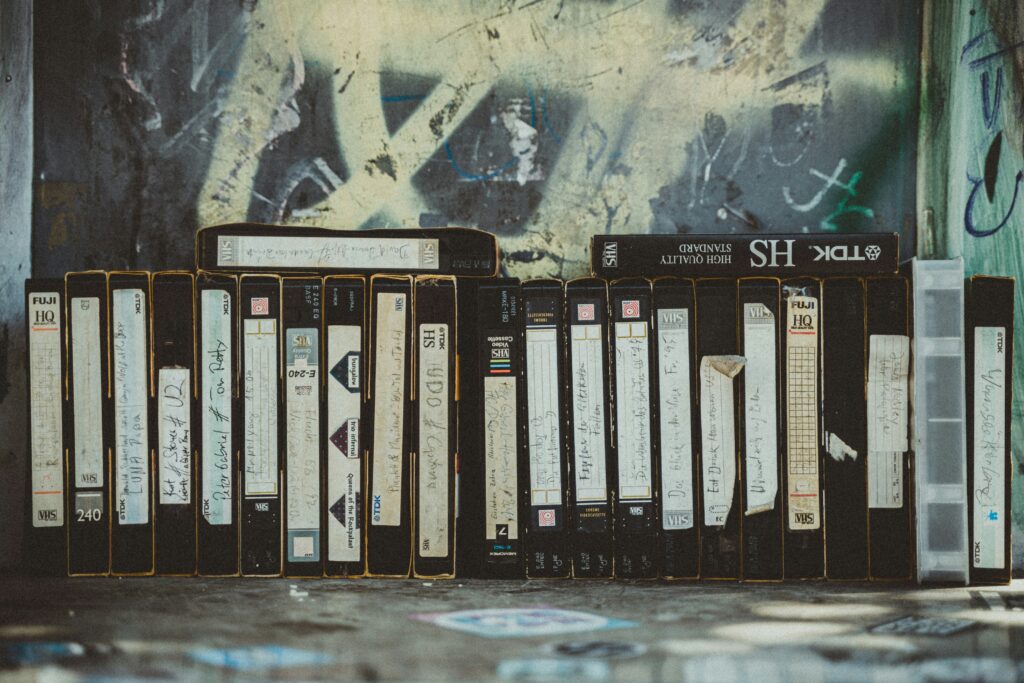
VHS tapes don’t age gracefully. Magnetic tape degrades whether you play it or not. Canon VHS-C camcorders were built for family moment. The footage they captured is irreplaceable. But the hardware to play it back is increasingly hard to find.
The window to preserve it is narrowing. And how you digitize matters more than most guides acknowledge, because AI enhancement can only work with what you give it.
Part 1: Understanding What You’re Working With
Canon’s VHS-C format used compact cassette. Ut’s smaller than standard VHS but carrying an identical video signal. Models like the Canon UC-X200, E40, and A1 were common in the 1990s. If you still have the original camcorder, it’s your best playback source. A standard VHS adapter lets VHS-C tapes play in any full-size VCR, though playback quality depends entirely on the condition of the player’s heads.
The typical problems you’ll encounter are specific to the format and its age. Color bleeding is common. You might see reds and blues spreading into adjacent areas. Chroma noise produces a fine, colorful speckle pattern across the image. Contrast tends to be low. The picture is soft by modern standards even at its best. Aging tape adds dropout artifacts and tracking errors that show up as horizontal tearing or banding across the frame.
It’s what VHS footage looks like after decades of storage. Bear in mind: the goal of restoration is the best version of what was captured then. Not footage that looks like it was shot today.
Part 2: Digitization — The Step That Determines Everything
This is where most people make mistakes. The quality of your digitized file determines everything that follows. AI enhancement cannot reconstruct detail that was lost during a poor capture.
Hardware You’ll Need
A reliable playback source. Your original Canon camcorder in working condition is ideal — it was calibrated for the format. A 4-head VCR with S-Video output is a solid alternative. JVC HR-S series players are particularly well-regarded by VHS preservation enthusiasts for their playback quality. Avoid VCR/DVD combo units. They introduce additional signal degradation. If the playback heads are dirty, have them cleaned before capturing.
A quality capture device. The capture device is the most consequential hardware decision. The Elgato Video Capture (~$80) stands out as one of the best consumer-level options, handling both RCA and S-Video inputs and offering reliable results across both Windows and Mac. The Diamond VC500 (~$40) is a less expensive but still respectable option. It’s significantly better than unbranded alternatives. Avoid no-name capture cards under $20; they introduce signal interference and produce muddy, inconsistent results.
S-Video cable if your equipment supports it. S-Video carries a higher-quality signal than composite. Leave the yellow RCA plug disconnected if you’re using S-Video, and use separate RCA cables for left and right audio. Not all Canon camcorders or VCRs have S-Video output — check before purchasing cables.
Capture Software and Settings
OBS Studio is free, powerful, and handles VHS capture cleanly. VirtualDub is a strong alternative, particularly for Windows users.
Key settings that matter:
Resolution. Capture at native VHS resolution. 720×480 pixels for NTSC (North America and Japan) or 720×576 for PAL (Europe and Australia). Record to a 4:3 aspect ratio file. Black bars are added by media players at playback but don’t need to be baked into the captured file. Do not upscale during capture.
Format. Capture in a lossless or near-lossless format like Motion JPEG AVI, HuffYUV, or Lagarith. The files will be large. That’s correct. Even high-resolution captures of VHS tapes are typically under 5GB for two hours of content. Storage is cheap relative to the value of the footage. Compressed formats like standard MP4 discard detail before the AI has a chance to work with it.
Turn off all enhancement in the capture software. No sharpening, noise reduction, or color correction during capture. Every filter applied at this stage permanently alters the source signal. Let the AI handle enhancement afterward with the full original data available.
Tracking adjustment. Before recording, adjust the tracking controls on your VCR or camcorder. A poorly tracked tape produces horizontal interference bands that compound during enhancement. Getting tracking right at the source eliminates an entire category of problems.
Part 3: Pre-Enhancement Preparation
Two steps before AI enhancement that most guides skip.
Deinterlacing
VHS footage is interlaced. Each frame is stored as two fields captured at slightly different moments. Progressive screens (every modern display) show both fields simultaneously, which produces a characteristic combing effect on moving subjects: a horizontal serration along edges in motion.
Deinterlacing converts the interlaced signal to progressive scan before enhancement. Running AI enhancement on interlaced footage produces inconsistent results. The AI is analyzing frames that contain two partially captured moments simultaneously.
HandBrake handles this cleanly and is free. Import your captured file, go to Video, select Deinterlace under Filters, and choose the Decomb preset. Export at the same resolution as your capture in a high-quality format. This is your source file for enhancement.
File Review
Before running enhancement, watch through the captured footage at normal speed. Note sections with significant dropout artifacts or tracking errors. AI enhancement improves them but doesn’t eliminate them entirely — knowing where the difficult sections are helps you evaluate the final output accurately.
Part 4: AI Enhancement
With a clean, deinterlaced source file ready, this is where the transformation happens.

TotalMedia VideoEnhance’s AI Smart Enhance engine processes the footage in a single pass, addressing noise and grain, compression artifacts, color fade, low contrast, and detail loss simultaneously. For VHS footage, this is directly relevant: the noise and color degradation characteristic of aged tape, the soft detail of the original 240-line VHS signal, and any encoding artifacts from the digitization process are all addressed together.
The split-screen preview shows the improvement on your actual footage at full output resolution before you commit to the render. For a two-hour tape capture, checking the preview on a representative section. Takes a few minutes and confirms the enhancement is producing the result you want.
Resolution upscaling. The native 480p or 576p source scales to 1080p at 200%, a significant clarity improvement on modern screens. True 4K upscaling is available but produces diminishing returns on VHS source material: the original signal simply doesn’t contain 4K-equivalent detail to reconstruct. 1080p is the practical target for most VHS restoration work.
Frame Interpolation. Most VHS footage was recorded at 29.97fps (NTSC) or 25fps (PAL). Frame Interpolation synthesizes new intermediate frames, which smooths motion on modern high-refresh displays. For footage with existing motion cadence issues from tracking or tape degradation, this is a visible improvement.
The web app version runs in any browser — no installation required for the free tier, which includes 4K upscaling and no watermark on exports.
Part 5: Export
After enhancement, export settings determine whether the improvement is preserved or partially undone.
| Setting | Recommended Value |
| Format | MP4 |
| Video codec | H.264 |
| Bitrate | 15–25 Mbps for 1080p |
| Frame rate | Match original (29.97fps NTSC / 25fps PAL) |
| Audio | AAC, 192kbps |
A high bitrate preserves the detail AI enhancement reconstructed. Exporting at low bitrate reintroduces compression artifacts.
Keep the raw captured files and the deinterlaced source files alongside the finished enhanced versions. Storage is inexpensive. Recapturing from a deteriorating tape in five years is not an option.
The Complete Workflow at a Glance
| Step | Tool | Purpose |
| 1. Capture | Elgato / Diamond VC500 + OBS | Digitize at native resolution, lossless format |
| 2. Deinterlace | HandBrake | Convert interlaced fields to progressive |
| 3. Enhance | TotalMedia VideoEnhance | AI noise reduction, color restoration, upscaling |
| 4. Export | TotalMedia VideoEnhance | H.264 MP4 at high bitrate |
| 5. Archive | External drive + cloud | Back up raw capture, deinterlaced source, and final output |
Frequently Asked Questions
Digitization happens in real time — a two-hour tape takes two hours to capture. There’s no shortcut for the capture stage. Enhancement processing time varies by resolution and computer hardware, but most clips complete in minutes via the web app
Possible but not recommended. Combo units introduce additional signal processing that reduces quality compared to a dedicated VCR connected to a capture device. For tapes with sentimental value, the difference in capture quality is worth using proper equipment.
Horizontal banding is a tracking error — the tape heads aren’t reading the signal cleanly. Adjust the tracking control on your VCR before capturing. Significant tracking errors that persist after adjustment indicate head wear; professional head cleaning or a different playback unit may be needed. AI enhancement reduces the visual impact of minor tracking artifacts but cannot fully eliminate severe ones.