
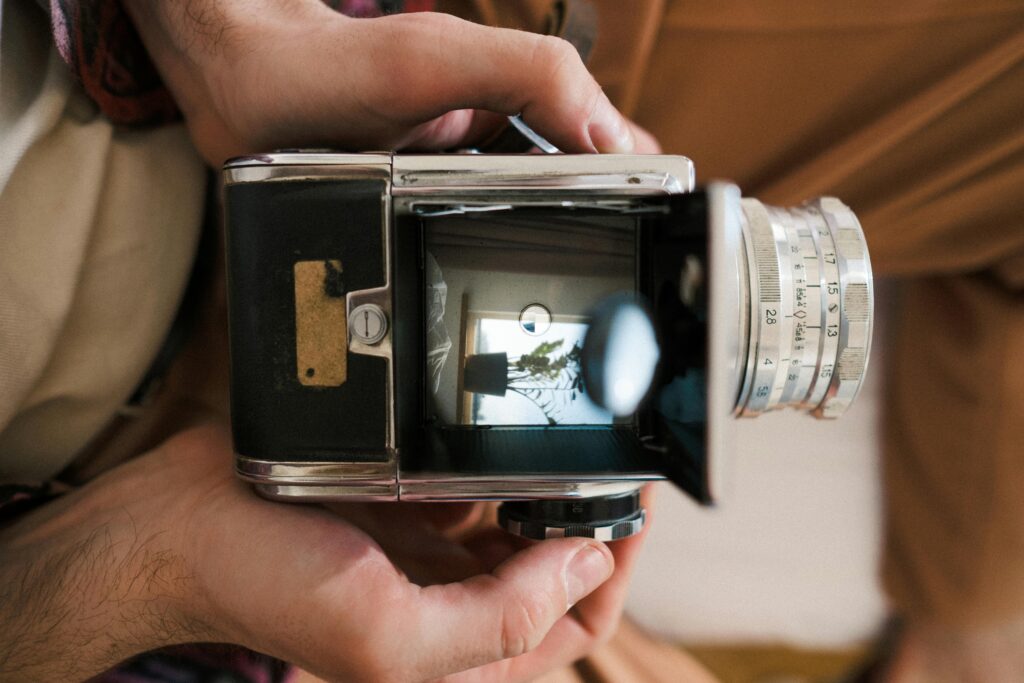
Old camcorder footage won’t open on a new laptop. Files copied years ago sit in folders with strange extensions like .MOD or .MTS. DVDs play on nothing you still own. The memories are there, but accessing them feels risky. What if you click the wrong thing and lose them forever?
That hesitation is understandable. These videos often hold birthdays, weddings, holidays, and people who may no longer be with us. The goal isn’t just to “convert files.” It’s to protect personal history and make sure it remains watchable for years to come.
This guide walks you through a careful, one-time process to modernize old video formats safely. You don’t need technical expertise—just patience, a reliable tool, and a clear plan.
Phase 1: Getting Ready — A Careful, Calm Approach
Before converting anything, the most important step is preparation. This is where you protect yourself from accidental loss.
Step 1: Gather and Organize Your Old Videos
Start by collecting everything in one place:
- Old hard drives
- Memory cards
- DVDs
- Files copied from camcorder tapes years ago
You’ll likely see formats such as .MTS, .MOD, .DV, .TOD, or older .AVI files.
Important but reassuring step:
Create a new folder on your computer called SOURCE_ARCHIVE. Copy all your old video files into this folder.
You are not changing anything yet. You are simply making a working copy so the originals stay untouched. This is the safest way to proceed, and it removes most of the risk people worry about.
Step 2: Understand the Goal
Older cameras used proprietary or outdated formats that modern devices don’t understand well anymore. The solution isn’t to “fix” the video. It’s to repackage them.
The safest long-term choice is:
- MP4 as the file container
- H.264 for video
- AAC for audio
This combination:
- Plays on phones, tablets, smart TVs, and computers
- Is widely supported and unlikely to disappear
- Balances quality and file size well
You don’t need to memorize this. Just know that this is the modern equivalent of putting old photo albums into protective sleeves.
Phase 2: Converting Everything Safely (In One Go)
Converting videos one-by-one is exhausting and risky. The goal here is a single, consistent batch process that you can start and then let run.
Step 1: Load Your Archive into Total Media Video Converter
Open Total Media Video Converter and go to the Video Converter section.
Use “Add Folder” and select your SOURCE_ARCHIVE folder.
The software will automatically scan and list all supported video files, regardless of how old or obscure the format is.
At this point, nothing has been changed. You’re still safe.
Step 2: Choose a Universal, Archival-Quality Preset
Look for a preset with a name like:
- “Universal Archival (H.264 HQ)”
- “Future-Proof MP4”
- “High Quality MP4”
You don’t need to adjust individual settings unless you want to. This preset is designed to make the right decisions for you.
What it does behind the scenes:
- Converts everything to MP4
- Uses H.264, a stable and well-supported video standard
- Preserves the original resolution
- Automatically deinterlaces older footage for smooth playback
- Converts audio to high-quality AAC
- Uses a smart variable bitrate to keep detail without bloating file size
In short: it prioritizes quality, compatibility, and safety over aggressive compression.
Step 3: Set Output and Preserve Organization
Choose an output folder, for example: CONVERTED_MP4_LIBRARY.
If your source files are organized by year or event, enable:
- “Preserve original folder structure”
This way, your converted videos stay neatly organized.
If available, also enable:
- “Preserve or fetch metadata”
This helps retain original recording dates—important when browsing memories years later.
Step 4: Start the Batch and Let It Run
Click “Convert All.”
For large collections, this may take hours. That’s normal. Let it run uninterrupted if possible. A reliable tool will process each file carefully and report progress clearly.
Once it’s done, your memories have been safely modernized.

Phase 3: Quick Verification and Long-Term Safety
Step 1: Do a Simple Spot Check
There’s no need to watch everything again.
Randomly open a handful of converted videos (about 5–10%) and check:
- Audio and video are in sync
- Playback is smooth
- The video plays from start to finish
This takes only a few minutes and confirms everything worked as expected.
Do not delete your SOURCE_ARCHIVE yet.
Step 2: Protect Your Archive with the 3-2-1 Rule
Now that your videos are in a future-proof format, protect them properly.
A simple way to remember it:
- One copy you use
- One copy you store
- One copy somewhere else
In practice:
- Keep three total copies
- Original SOURCE_ARCHIVE
- CONVERTED_MP4_LIBRARY
- One additional backup
- Use at least two types of storage
- Computer + external drive, or NAS
- Keep one copy offsite
- Cloud storage or a drive at a relative’s home
This is not ongoing work—it’s a one-time setup that gives long-term peace of mind.
Conclusion: Your Memories Are No Longer at Risk
By taking a careful, structured approach, you’ve done more than convert video files. You’ve removed your family history from fragile, outdated technology and placed it into formats that will remain accessible for decades.
Your videos can now play on modern devices, be shared easily, and be safely backed up without worry. Most importantly, you no longer have to hesitate when you think about those old folders—you know they’re protected.
Why TotalMedia Video Converter Fits This Kind of Project
For archival work like this, reliability matters more than speed or flashy features.
Total Media Video Converter stands out because:
- It supports a wide range of older, proprietary formats
- It handles large batches consistently without manual babysitting
- Its archival presets prioritize fidelity and compatibility
- It saves days—or weeks—of manual effort
For families preserving personal history, that combination makes the process simpler, safer, and far less stressful.
FAQ
A properly done conversion should not noticeably reduce quality. Older camcorder footage already has a fixed resolution and level of detail. By converting it to MP4 using a high-quality H.264 preset, you are preserving as much visual information as the original file contains—just in a format modern devices understand better. In many cases, playback may actually look smoother on today’s screens.
No. That’s the purpose of using an archival or universal preset. These presets are designed to make safe, high-quality choices automatically. Unless you have a specific technical requirement, there’s no need to adjust individual settings.
MP4 with H.264 is one of the most widely supported video standards in the world. It works across phones, tablets, computers, smart TVs, and editing software. Because it’s an open and established format, it’s very unlikely to become obsolete anytime soon—making it ideal for preserving family memories.