An old family video can decay with time. It’s devastating to watch the memories fall apart. The instinct is to accept this as the cost of time. But it isn’t. The footage itself still holds the information. What’s degraded is the encoding and the medium, not the memory itself. With the right AI tools, a significant amount of that visual information can be reconstructed.
This guide focuses on what actually happens to old footage and how TotalMedia VideoEnhance addresses it without requiring any technical background.

What Has Actually Happened to Your Old Footage
Before reaching for a solution, it helps to understand the specific problems you’re dealing with. Old family video degrades in several distinct ways, and each responds differently to enhancement.
Fading, Color Loss, and Tape Degradation
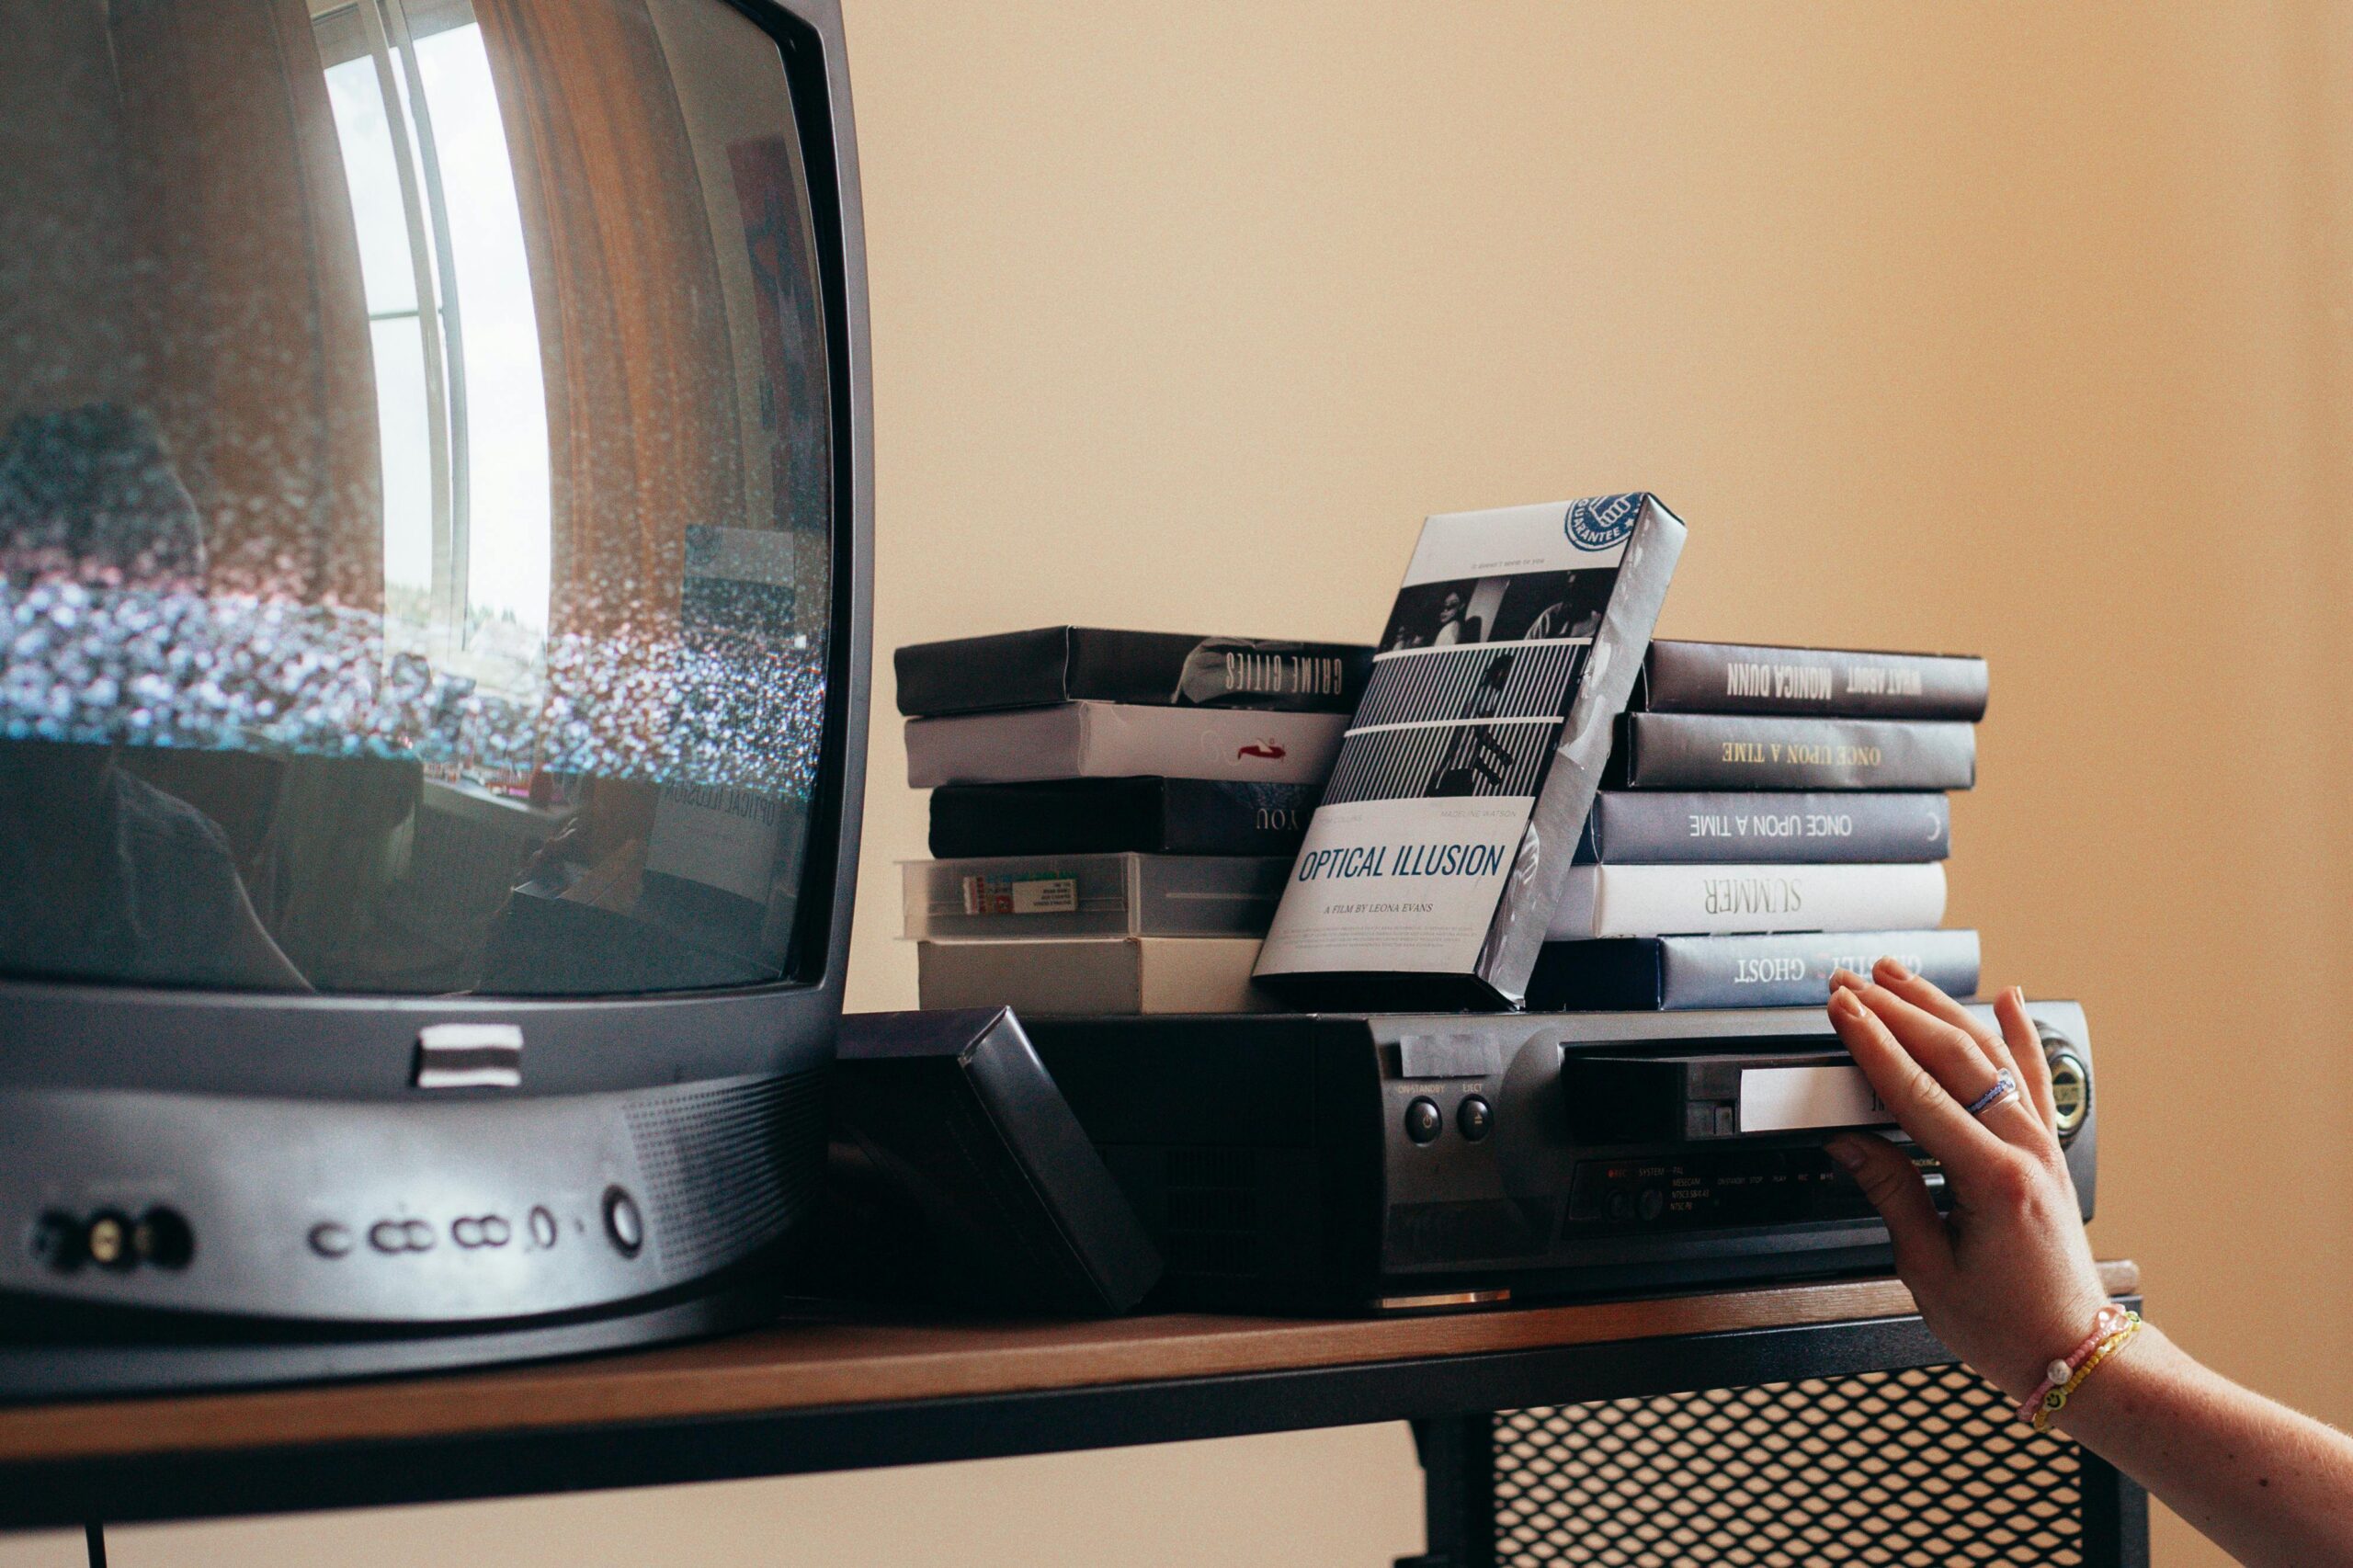
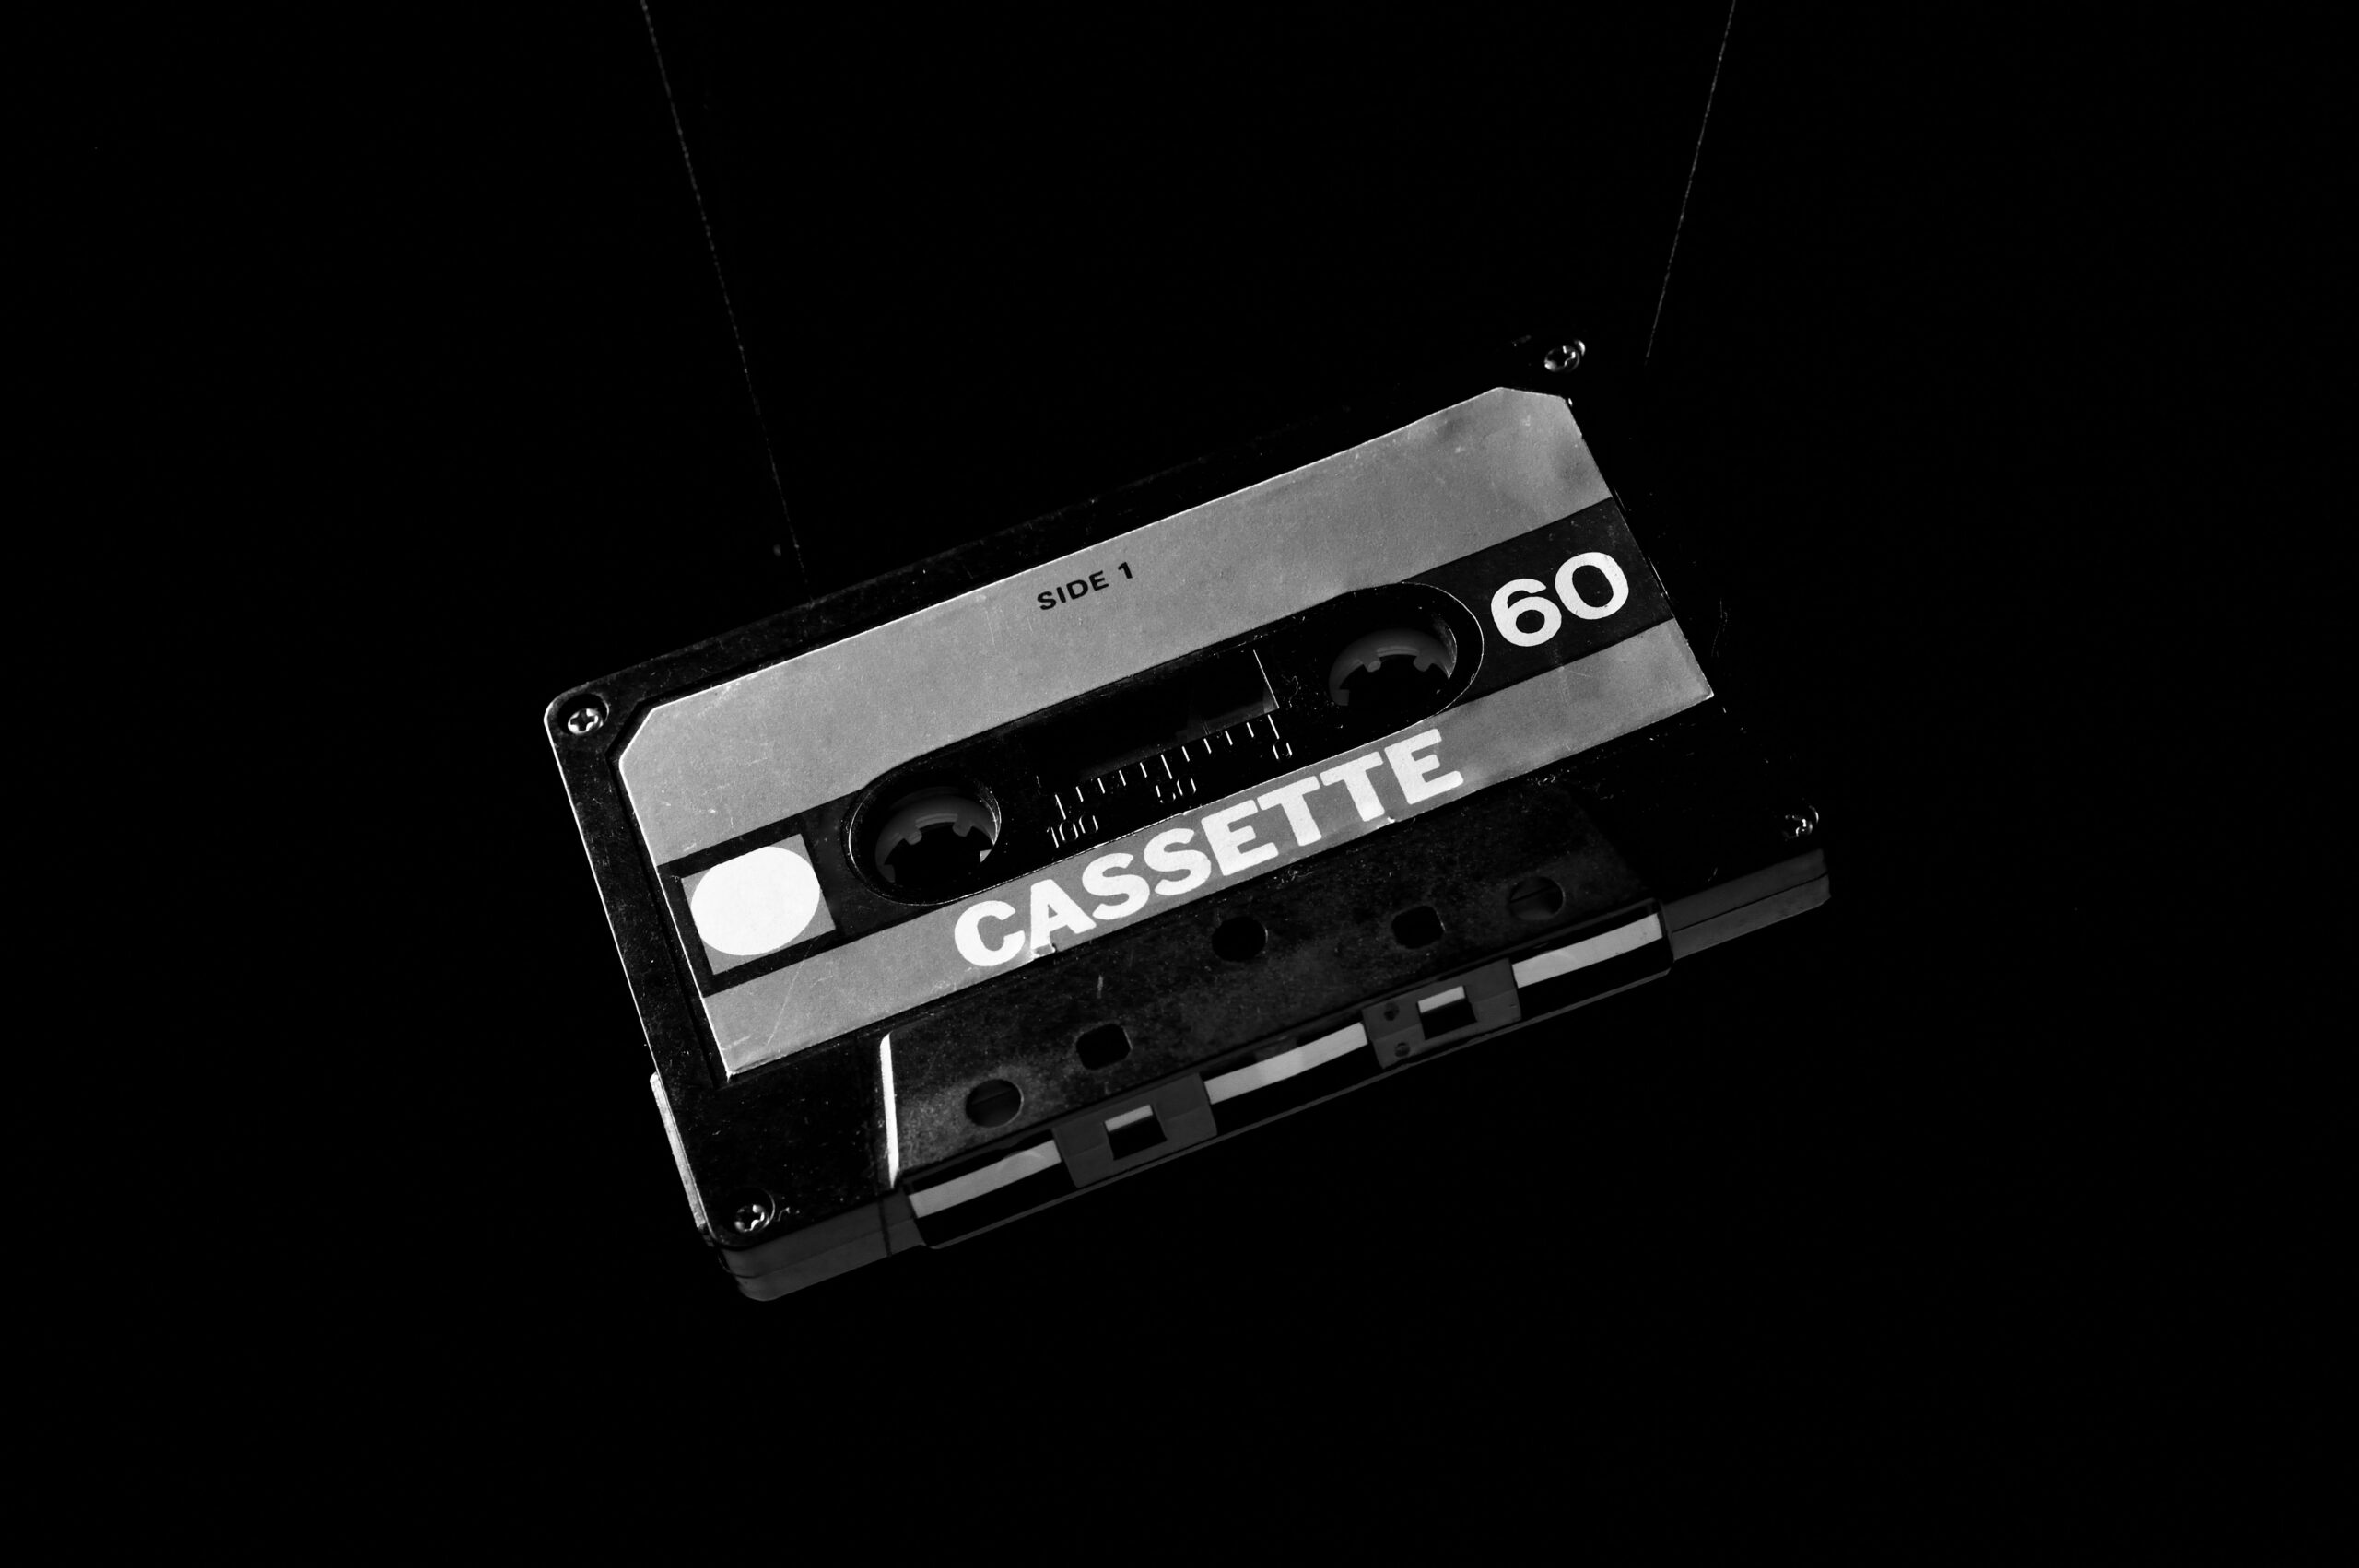
Magnetic tapes like VHS, Hi8, Betamax store video as magnetic patterns that weaken over time. As the magnetic signal degrades, colors shift toward reddish or purplish casts, contrast flattens, and the overall image loses the vibrancy it had when it was recorded. DVD and film formats degrade differently but produce similar results: faded, washed-out footage that no longer looks like what was originally captured.
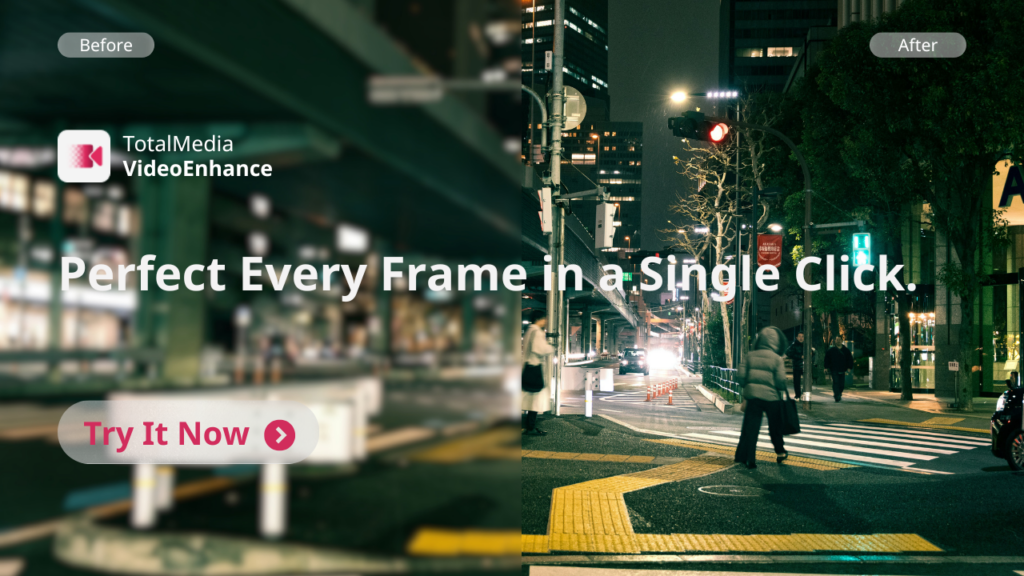
TotalMedia VideoEnhance’s AI Smart Enhance engine addresses this directly. It analyzes each frame and reconstructs color balance and contrast based on what the AI understands about natural color relationships, then restore the warmth and depth that degradation has stripped away.
Noise, Grain, Scratches, and Compression Artifacts
VHS footage has a characteristic look: visible grain, static, horizontal tracking lines, and a general softness that comes from both the recording format and the analog-to-digital conversion process. Film footage adds physical scratches and dust. Digital compression from early camcorders introduces blockiness and color banding.
Basic filters address this by blurring the entire image. It removes the noise but also removes the detail you want to keep. AI Smart Enhance works differently. It’s trained to distinguish between the pattern of noise and the texture of genuine image content, and removes one while reconstructing the other.
Low Resolution and Choppy Motion
Standard-definition footage was recorded at 480p or lower. On the small televisions of the time, that was sufficient. On a modern 4K display, it looks blocky and soft. Early camcorder footage also tends to be choppy, either from low frame rates or from the degradation of the recording medium itself.
TotalMedia VideoEnhance offers resolution upscaling from the original size up to 4K (with 8K available on the Pro plan), using AI that synthesizes new detail rather than simply enlarging existing pixels. Frame Interpolation generates new intermediate frames between existing ones, smoothing out choppy or stuttering playback by filling the motion gaps with AI-generated frames based on actual motion analysis.
What the Restoration Process Looks Like in Practice
Before You Begin: Digitize Your Source Material
TotalMedia VideoEnhance works with digital video files. If your memories are still on physical media, they need to be digitized first.
For VHS and Hi8 tapes, a USB video capture device connects your VCR or camcorder to your computer and records the playback as a digital file. For DVDs, standard ripping software extracts the video files (typically VOB or MP4 format). Once you have a digital file saved to your computer, you’re ready to begin.
Work from the best available copy. If you have the original tape and a good-condition VCR, digitize from that rather than from a copy. The quality of the source file determines the enhancement quality.
The Enhancement Session
1. Upload your file. Open TotalMedia VideoEnhance in your browser or via the desktop app. Upload your digitized video file. Supported formats include MP4, MOV, AVI, VOB, and other common video formats.
2. Select AI Smart Enhance. AI Smart Enhance is the default model and the right starting point for old family footage. In a single processing pass, it addresses noise and grain, compression artifacts, blur, faded color, and low contrast simultaneously. There’s no need to configure separate filters for each problem. The AI handles the analysis and applies the appropriate correction to each frame individually.
3. Set Frame Interpolation if motion is choppy. If your footage stutters or has uneven motion cadence, use the Frame Interpolation dropdown to select a higher target frame rate. The AI generates new intermediate frames based on motion analysis rather than duplicating existing ones, which produces noticeably smoother playback.
4. Choose your output resolution. Under the Resolution section, select your target output. For most old family footage, 200% (1080p) represents a dramatic and realistic improvement. If you want the highest possible quality for large-screen playback or archival storage, 400% (4K) adds further synthesized detail. Pro users can access 8K output for the most demanding archival use cases.
5. Use the split-screen preview. Before committing to the full render, use the interactive split-screen preview to compare the original and enhanced footage side by side at full output resolution. Drag the divider across a section with faces or fine background detail to assess the improvement. This is the step that makes the difference between guessing at a result and knowing what you’ll get.
6. Click Enhance and download. Click the Enhance button to begin processing. A live progress indicator shows completion percentage throughout. When processing is complete, download the output in MP4 format. For multiple clips, the thumbnail sidebar lets you queue additional files and process them in the same session.
When Basic Tools and Online Services Fall Short
It’s worth understanding what the alternatives offer and where they stop being useful.
Standard editing software like iMovie or Adobe Premiere Elements can adjust color sliders, apply sharpening filters, and manually correct some issues. For footage that’s already in reasonable condition and needs only minor tweaks, these tools are adequate. For footage with real degradation — heavy grain, significant color shift, low resolution — manual filters produce a zero-sum result: sharpening amplifies noise, denoising blurs away facial detail, and resizing makes a blurry image larger rather than clearer.
Online colorization and restoration services process short clips in a browser without requiring software installation. For a single, brief clip where you want to test what’s possible, they serve a purpose. The limitations are significant for anyone with a real archive to restore: most free tiers restrict clips to a few seconds, processing queues can mean hours of waiting, and uploading decades of private family memories to an unknown third-party server carries real privacy risk that most people would prefer to avoid.
| Feature | Basic Editing Software | TotalMedia VideoEnhance | Online Services |
| AI noise and artifact removal | No — blurs detail | Yes — AI Smart Enhance | Limited |
| Color and contrast restoration | Manual sliders only | Yes — automated per frame | Limited |
| Resolution upscaling | No — resizes only | Yes — up to 4K / 8K Pro | No |
| Frame Interpolation | No | Yes — AI-generated frames | No |
| Before/after preview | Basic | Yes — full-resolution split-screen | Varies |
| Multi-file processing | Yes | Yes — thumbnail queue | No |
| Platform | Desktop | Web app and desktop | Browser only |
| Data privacy | Local | Web app or local desktop | Upload to third-party server |
| Cost | Free or low cost | Free tier + Pro upgrade | Pay per clip |
| Best For | Minor tweaks on good footage | Family archives and old home video | Single short test clips |
Give Your Family’s History the Clarity It Deserves
The footage sitting on old tapes and degraded files isn’t lost. It’s waiting. The light, the movement, the color that the camera captured decades ago is still encoded in those files. What AI enhancement does is reconstruct what time and technology have obscured, frame by frame, until the people and places you remember are visible again.
If you’re working with other types of footage that need improvement before editing or sharing, our related guide covers the full enhancement workflow: How to Make Video Smoother, Find the Best Enhancer and Compare with Topaz.
Give your family the gift of seeing those memories clearly. Try TotalMedia VideoEnhance today and see how much of the past can be brought back.
Frequently Asked Questions
Yes — the tapes need to be digitized first. TotalMedia VideoEnhance works with digital video files, so your VHS footage needs to be converted to a digital format like MP4 or AVI before you can upload it. A USB video capture device connected to a working VCR is the most common way to do this at home. Once you have the digital file saved to your computer, you can upload it to VideoEnhance and begin the enhancement process. The better the condition of your tape and playback equipment, the better the source file will be — which directly affects how much the AI can recover.
It can still produce meaningful improvement, though the degree of recovery depends on how much usable visual information remains in the source file. AI Smart Enhance reconstructs detail based on what it can read in the existing frames — if the degradation has left recognisable edges, textures, and motion, the AI has enough to work with. For footage that is extremely dark, completely overexposed, or so compressed that individual frames are barely distinguishable, the results will be limited. Using the split-screen preview before committing to a full render is the best way to assess what’s achievable on a specific clip.
You can queue multiple files in the same session. TotalMedia VideoEnhance supports a multi-file workflow through the thumbnail sidebar — load additional clips at any point, switch between them to configure individual settings, and process them without returning to the home screen each time. For a large family archive, this makes it practical to work through an entire collection systematically rather than handling each file separately.