
Cinematic footage isn’t about the camera. It’s about light, motion, composition, and what happens in post. A GoPro can produce genuinely compelling work, if you know what decisions to make before and after you press record.
This guide covers the full pipeline: what to capture and how to enhance it afterward.
The Cinematic Mindset
Cinematography is visual storytelling. Every shot should serve a purpose, like establishing a place, revealing emotion, building tension. Before planning any shot, ask what it needs to communicate. That question drives every technical decision that follows.
Phase 1: In-Camera Techniques
Frame Rate and Shutter Speed
24fps is the cinematic standard. It’s a frame rate that gives footage its characteristic film-like motion. Pair it with the 180-degree rule: set your shutter speed to double your frame rate.
- Shooting at 24fps → shutter at 1/50s
- Shooting at 60fps for slow motion → shutter at 1/120s
In bright daylight, achieving these slow shutter speeds without overexposing requires ND filters. They’re essential for maintaining the 180-degree rule outdoors. Without them, you’re forced to use a shutter speed that’s too fast, producing footage that looks unnaturally sharp and video-like.
Composition and Movement
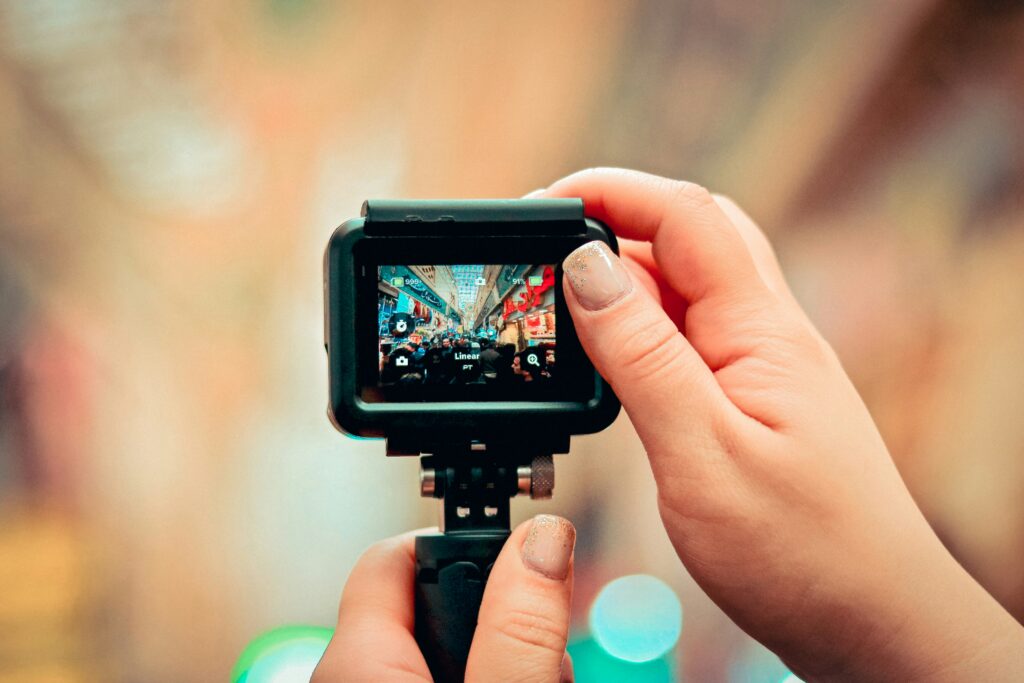
Rule of thirds. Place your subject off-center. Enable the grid overlay in your GoPro settings.
Move deliberately. Slow, intentional movement reads as cinematic. Fast, jerky movement reads as amateur. Use a gimbal or slider where possible. Let the action happen within the frame rather than chasing it.
Foreground interest. Something close to the lens, such as a branch, a rock, part of your gear, adds depth and dimension that wide shots often lack.
Lighting
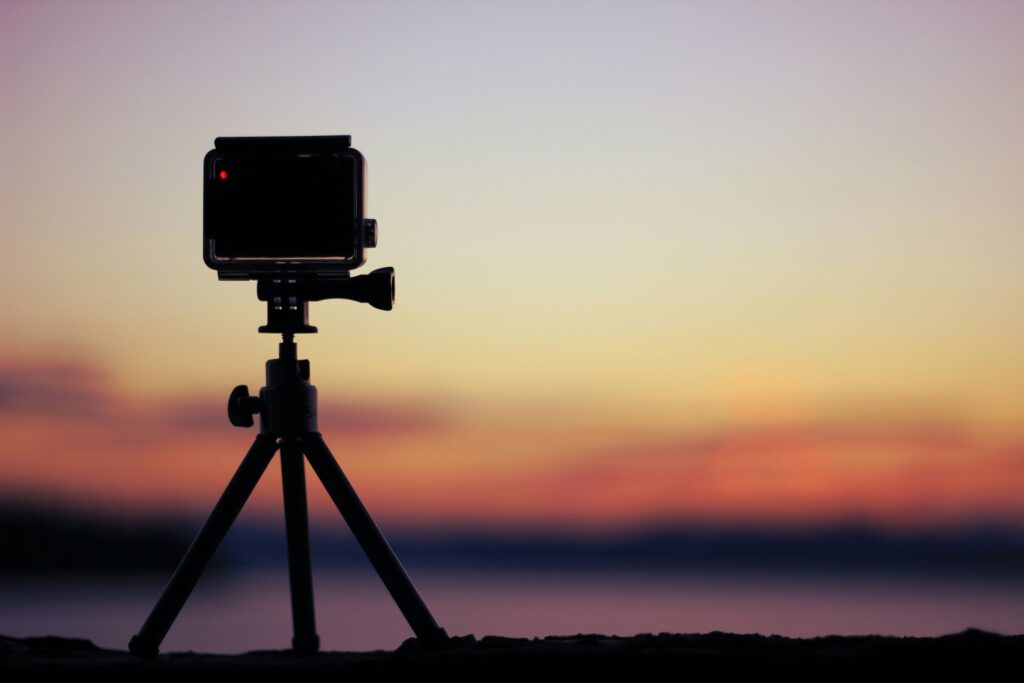
Golden hour, the period just after sunrise and before sunset, produces warm, directional, soft light that flatters almost any subject. Plan shoots around it where possible.
Harsh midday sun is the hardest light to work with on a small sensor. If you can’t avoid it, shoot in open shade so the light is softer and more controllable.
Phase 2: Post-Production with TotalMedia VideoEnhance
GoPro footage has a characteristic look: wide, sharp, occasionally over-saturated, and prone to compression artifacts at higher frame rates. Post-production is where you address those qualities and push the footage toward the look you’re after.

AI Enhancement for Cleaner Footage
TotalMedia VideoEnhance’s AI Smart Enhance engine works through the footage frame by frame, removing compression artifacts, recovering fine detail, and restoring color balance and contrast in a single pass. For GoPro footage shot in challenging light or at high frame rates where compression is aggressive, this step alone produces a noticeably cleaner image to work with.
The split-screen preview lets you assess the improvement on your actual footage before committing to the full render.
Slow Motion via Frame Interpolation
Shot at 60fps or 120fps and want genuine slow motion? Frame Interpolation generates new intermediate frames using motion analysis, converting high-frame-rate footage to 24fps smoothly. A splash, a jump, a moment of impact at 40% or 20% speed, these read as cinematic rather than just slowed down.
Upscaling for a Sharper Output
GoPro cameras record at resolutions ranging from 1080p to 5.3K depending on the model. For footage captured at 1080p or 2.7K, AI upscaling brings the output to 4K with synthesized detail rather than simple enlargement. The result holds up on modern displays in a way the source material often doesn’t.
Color Grading
VideoEnhance handles quality restoration. Creative color grading like applying LUTs, adjusting curves, building a specific color palette, belongs in a dedicated editing application like DaVinci Resolve or Adobe Premiere after the enhancement step.
A cinematic color grade typically involves slight desaturation, crushed blacks for depth, and a deliberate color palette that reflects the mood of the footage. Cool and desaturated for alpine terrain. Warm and golden for desert or coastal content. Run the grade on clean, enhanced footage and the result is significantly more consistent than grading compressed source material directly.
Phase 3: Sound Design
Sound is half the experience. GoPro’s onboard microphone captures wind noise and handling sound. They are rarely usable as-is for cinematic work.
Replace weak onboard audio with high-quality sound effects and a fitting music bed. Environmental sounds add texture and immersion. Cut them to picture rather than letting them run underneath the edit passively.
Music sets emotional tone more directly than visuals do. Choose carefully.
Cinematic Shot Checklist
Before your next shoot, plan for these:
The establishing shot. Wide, slow pan of the landscape. Sets the scene.
Detail shots. Close-ups of hands, gear, environment. Use GoPro’s linear mode to remove lens distortion on these.
POV. Immersive but keep it stable. Shaky POV breaks the effect it’s trying to create.
The hero shot. Subject in environment, beautifully composed, ideally at golden hour.
Slow motion. Reserve it for key moments — a splash, a jump, a reaction. Overused slow motion loses its impact fast.
Workflow Summary
| Stage | Tool | Purpose |
| In-camera | GoPro + ND filters | Frame rate, shutter, composition |
| Enhancement | TotalMedia VideoEnhance | Noise, artifacts, upscaling, frame interpolation |
| Color grading | DaVinci Resolve / Premiere | LUTs, curves, creative grade |
| Audio | DAW or editor | Sound effects, music, mix |
Frequently Asked Questions
In bright outdoor conditions, yes. Without an ND filter, maintaining the 180-degree shutter rule causes overexposure. ND filters reduce the light entering the lens, allowing the correct shutter speed for natural motion blur. A basic 3-pack covering ND8, ND16, and ND32 covers most daylight conditions.
24fps for standard cinematic footage. 60fps or 120fps for slow motion — these convert to 24fps in post for 40% or 20% speed respectively. Avoid 30fps if cinematic motion is the goal — it sits between the two and commits to neither.
Sound design is often cited as contributing up to 50% of the emotional impact of a video. GoPro onboard audio is rarely usable for cinematic work. Replacing it with quality sound effects and a deliberate music choice consistently elevates the perceived production value more than most visual techniques.
Disclaimer: GoPro settings and features vary by model. Always check your specific camera’s manual for supported frame rates, resolutions, and shooting modes.